Skip to Content
NEXT CERTIFICATION CLASS - AUGUST 31st, 2026
0
Home
Why Hypnotherapy
WHY Hypnotherapy
Why Use Hypnotherapy?
What is Hypnosis?
How It Works
Frequently Asked Questions
Choosing Your Hypnotherapist
Sessions
Sessions
Let's Get Started
Before Your First Session
Work With Me
What to Expect
Zoom Sessions
Fees and Services
Gold Star Memberships
Gift Certificate
Training | Coaching
Training | Coaching
Hypnosis Training and Certification
Coaching the Hypnotherapist
Free Resources
Testimonials
About Us
Photos
Contact us
Schedule a Free Consultation
0
Home
Why Hypnotherapy
Sessions
Training | Coaching
Free Resources
Testimonials
About Us
Photos
Contact us
NEXT CERTIFICATION CLASS - AUGUST 31st, 2026
Schedule a Free Consultation
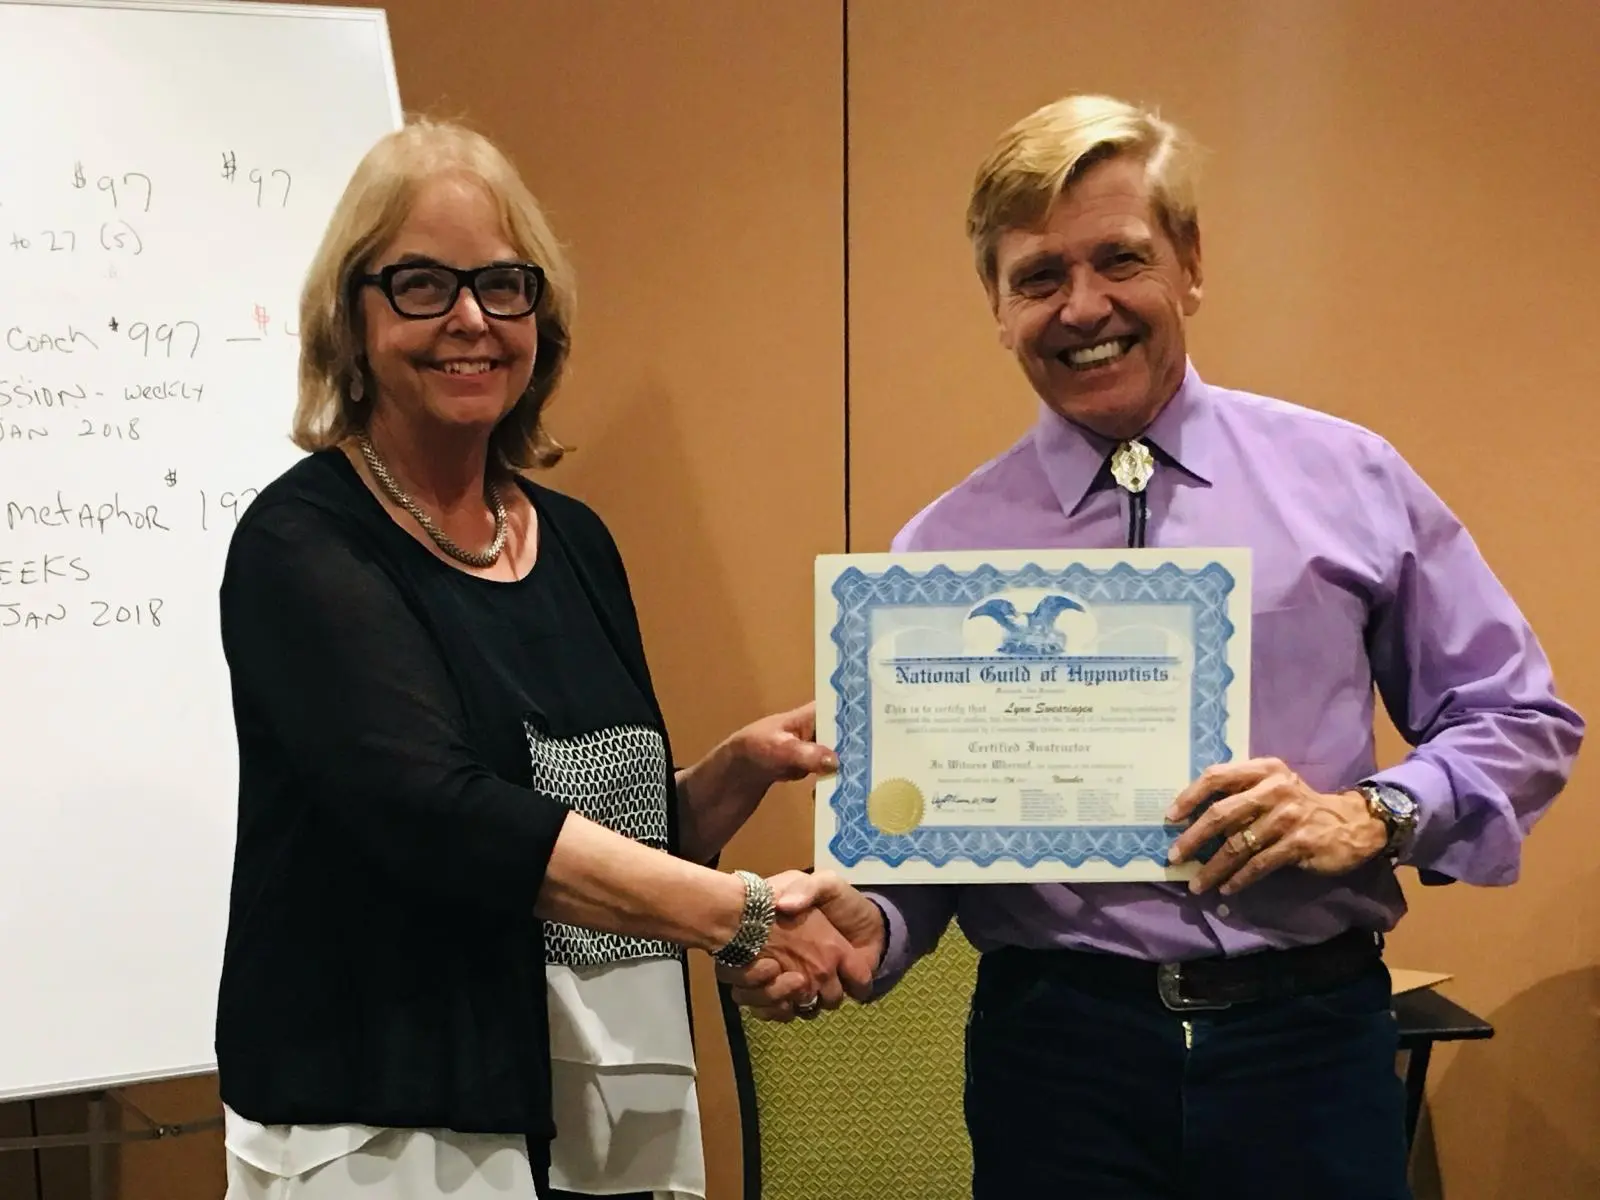
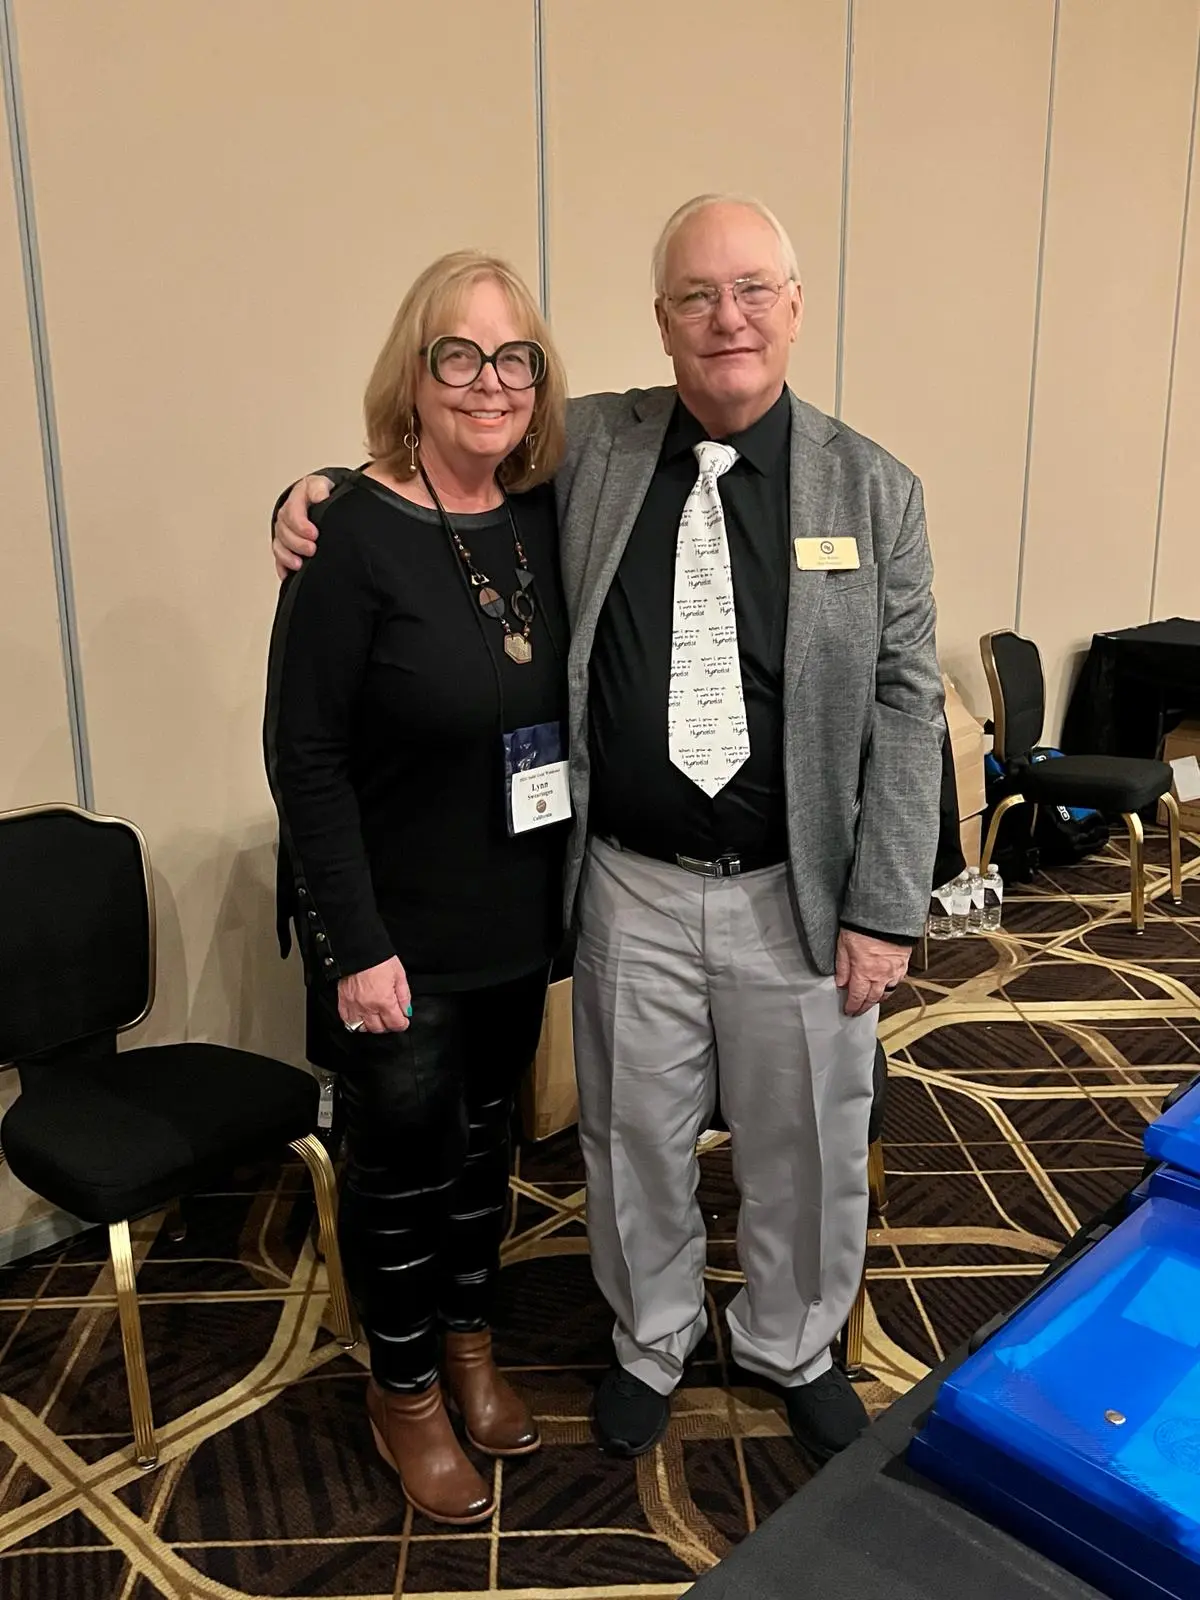
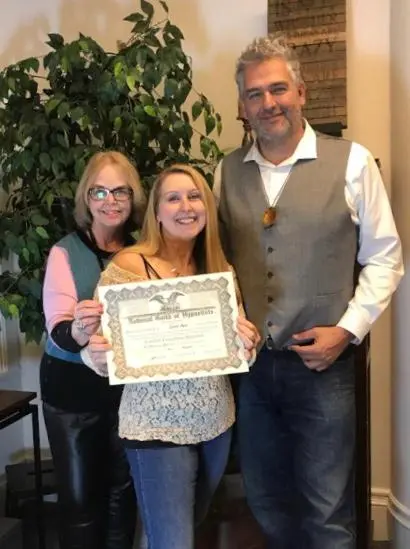
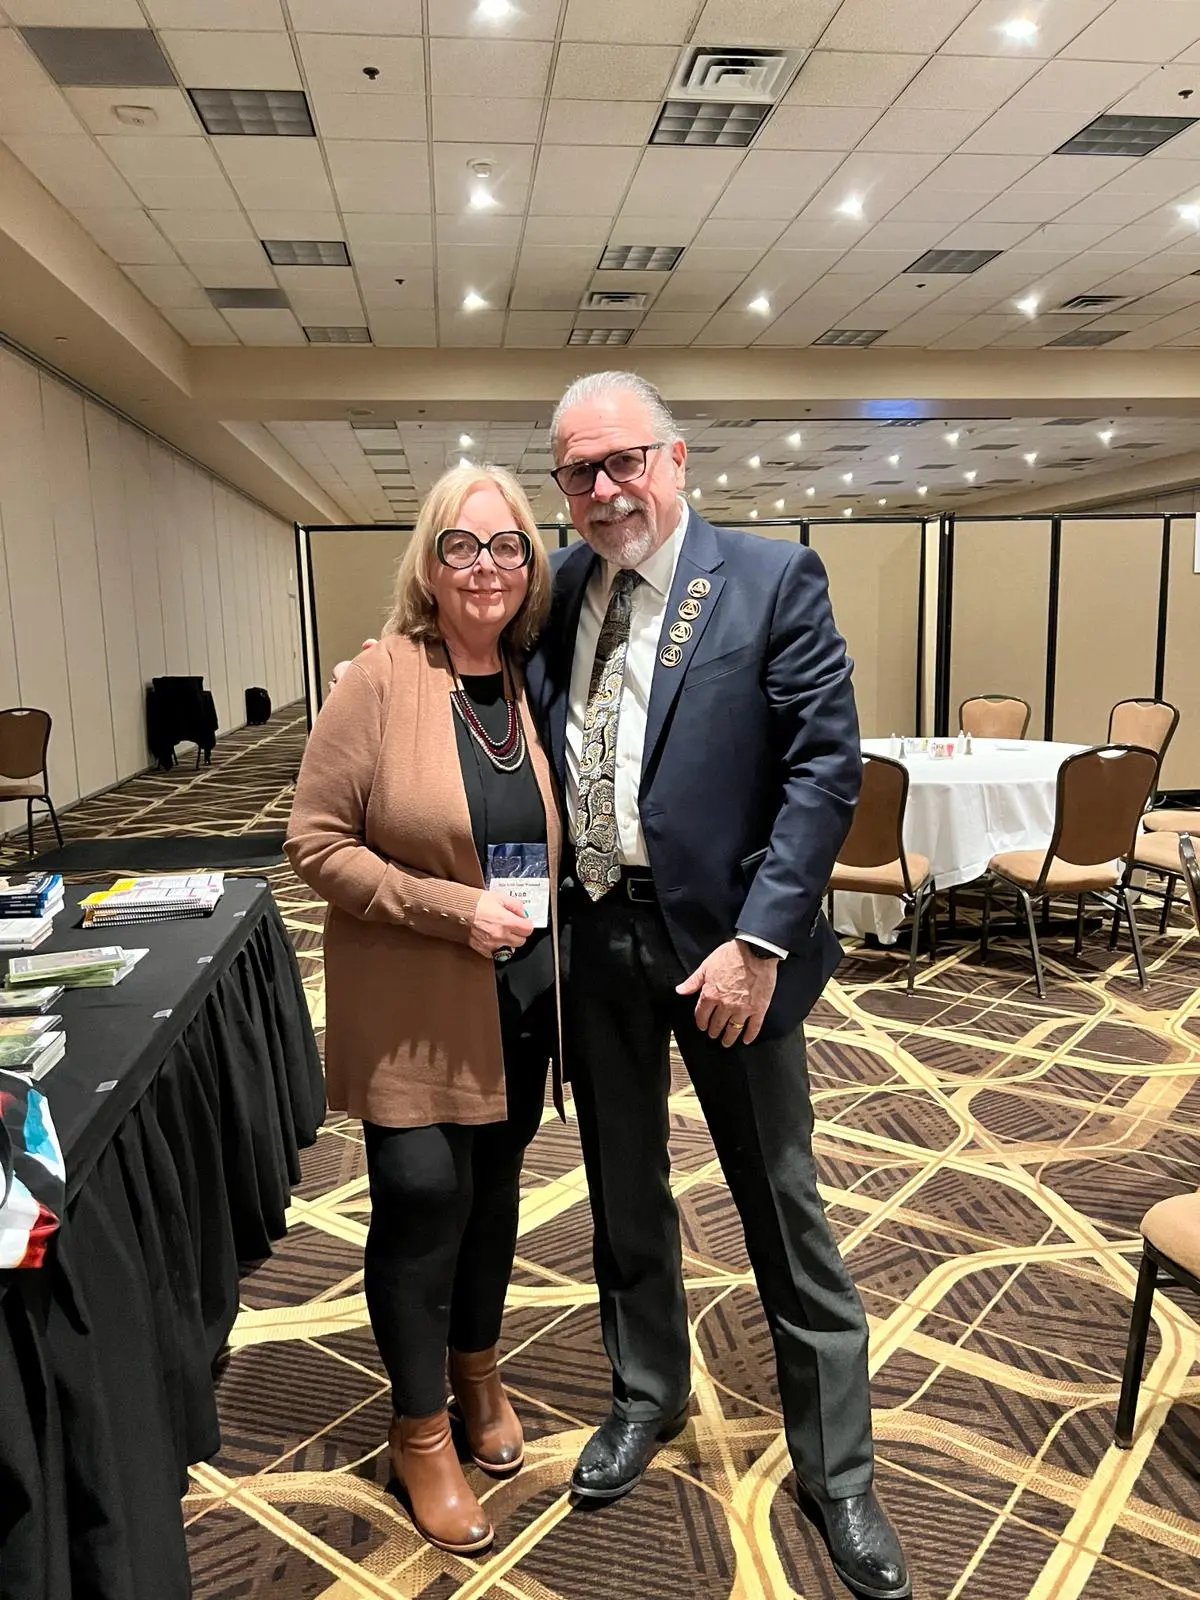
Our Photo Gallery